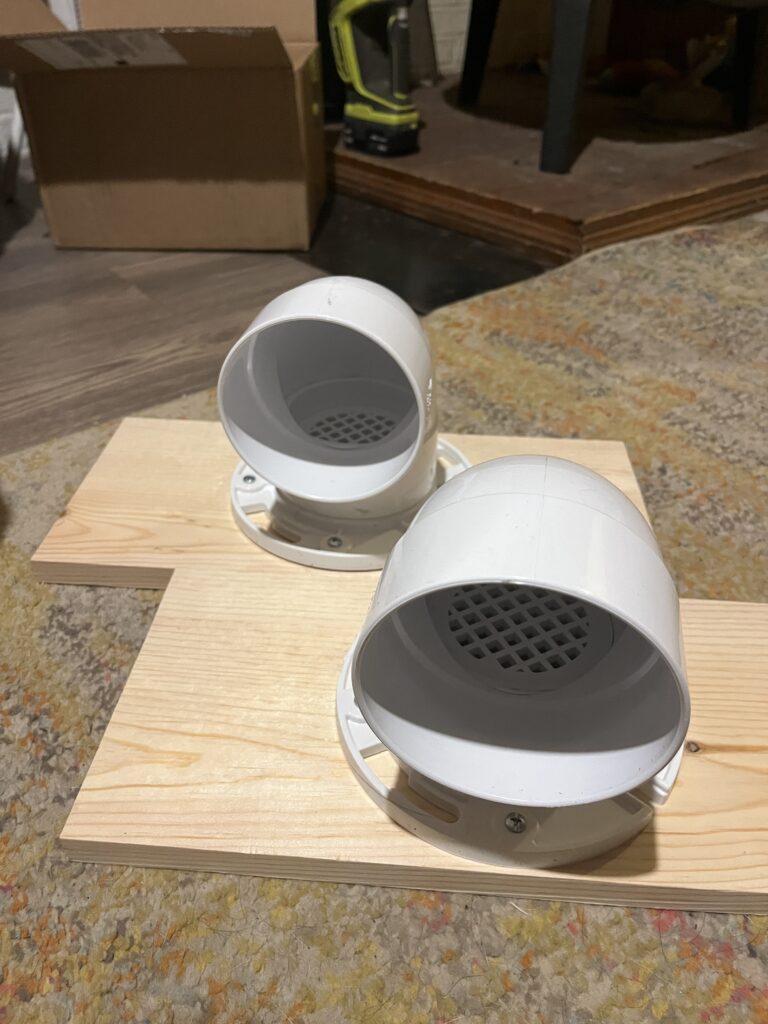
Many trainers use line-ups consisting of PVC scent snorkels to help train detection dogs to detect a new scent or ignore off-target odors. These PVC scent snorkels are stable, identical, and easy to make at home. The dog is trained to put her nose into the PVC, checking each in a line.
When she sniffs her target odor, the dog is either rewarded immediately to teach her the target odor (pay-for-sniff) or after her correct alert (trained final response). Dogs can be trained in the same way using many different setups, including scent wheels, boxes, or even colanders above mixing bowls. It’s important to note that plastic is permeable and can collect odor, so PVC is an imperfect training tool for detection dogs. If you aren’t very careful about how you handle and store your target odors, off-targets, and snorkels themselves, you can easily make things very messy!
We recently made our own PVC scent snorkels to imprint Barley and Niffler to a new target odor – wolf scat – because we were hoping that the precise nose-targets would help in training. Later on, we may use the visual aid of the PVC snorkels to help in some exercises with Niffler similar to the quartering training taught in this PennVet paper (see Figure 3).
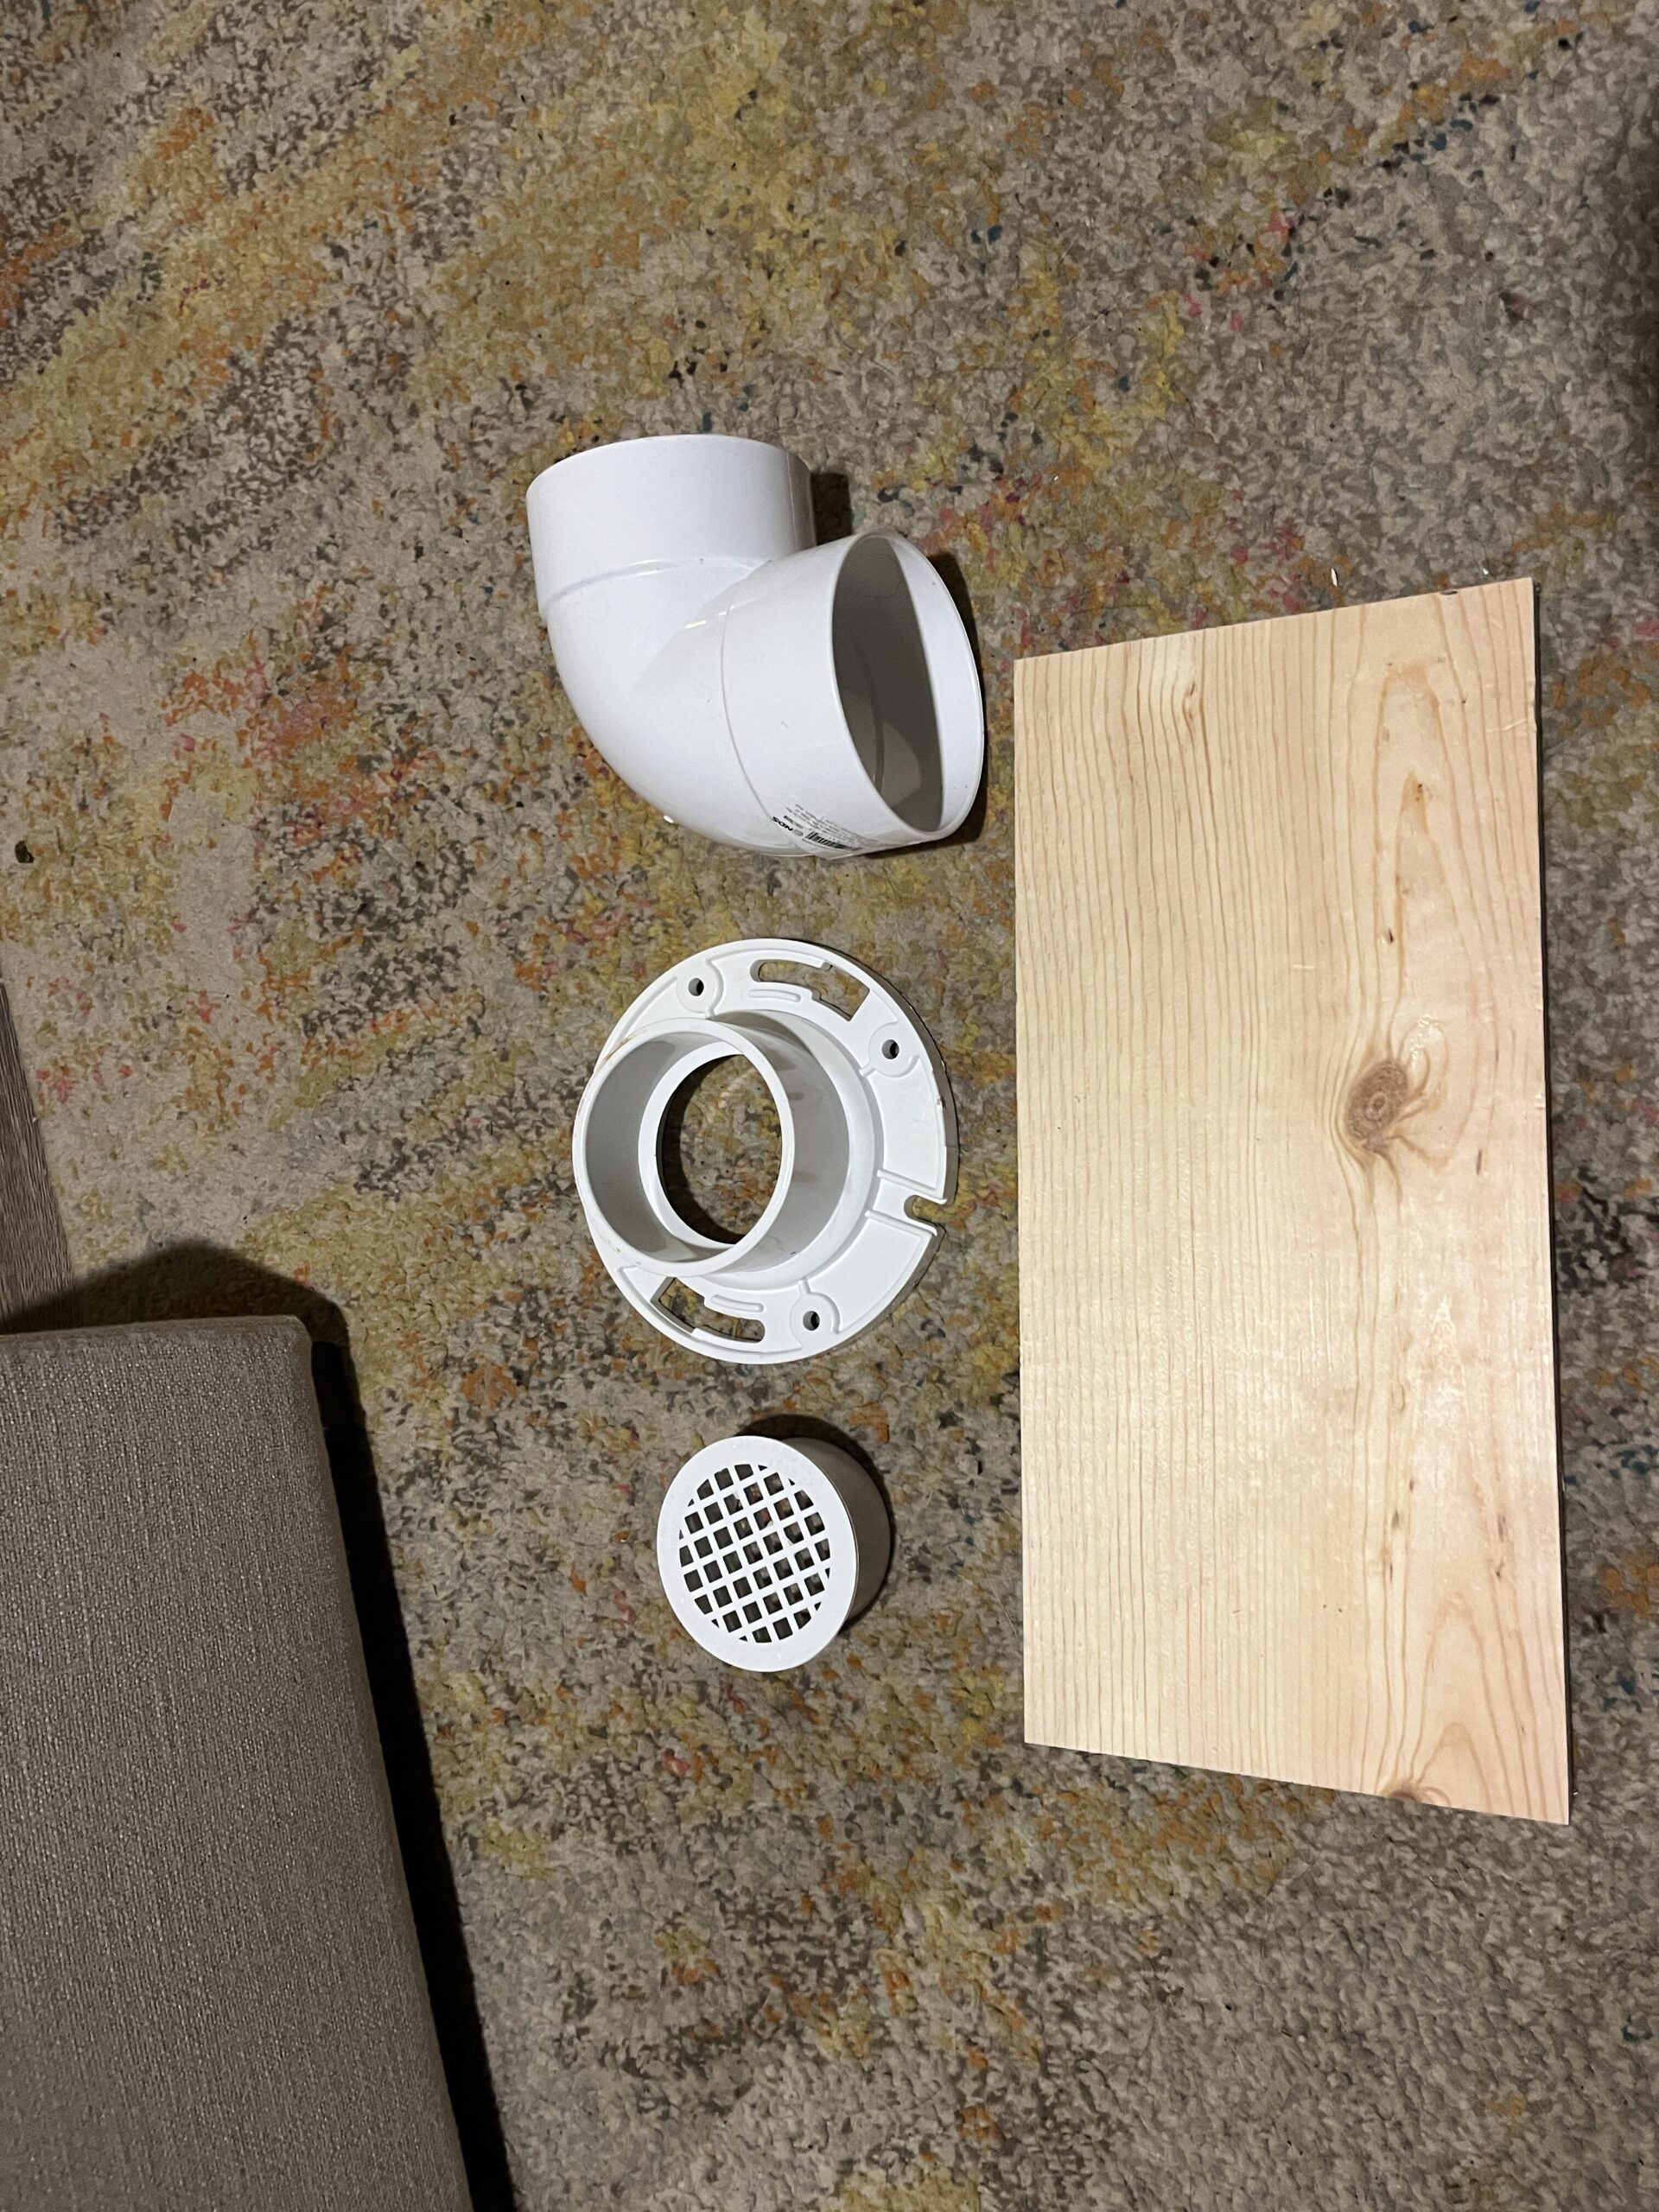
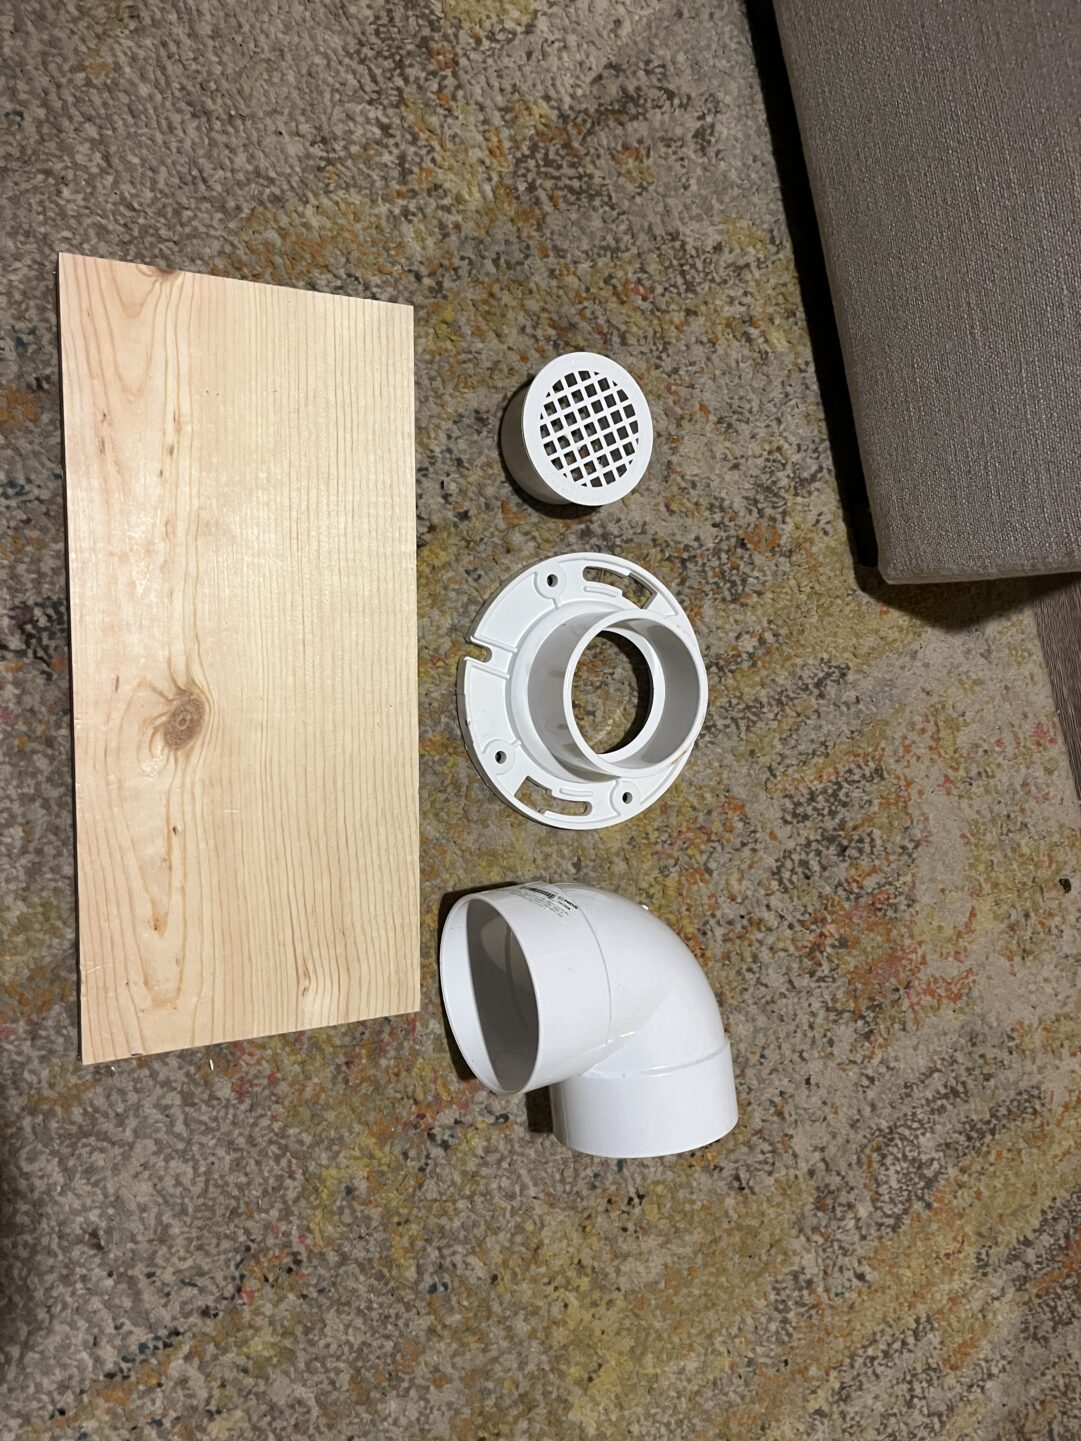
These snorkels were quite easy to make at home, and we’ve already had a few requests for instructions. First, you’ll want to gather all the required materials and tools. You can make as many of these as you want. I made six.

Materials Needed to Build PVC Scent Snorkels:
- 4oz canning jars (6+)
- 4 inch 90-degree elbow fitting (6)
- 4 inch x 3 inch PVC hub closet flange (6)
- 3 inch round snap-in drain filter (6)
- 1 inch wood crews (24)
- 1 8-foot section of wood, cut to 6 equal segments
Tools Needed to Build PVC Scent Snorkels:
- Drill
- Saw (I got my plank cut at Home Depot when I picked it up)
Step-By-Step Guide to Build PVC Scent Snorkels:
- Ensure you have all the materials and tools (see above) and that your plank is in 6 equal pieces. It’s worth double- or triple-checking that all of your pieces fit at this point.
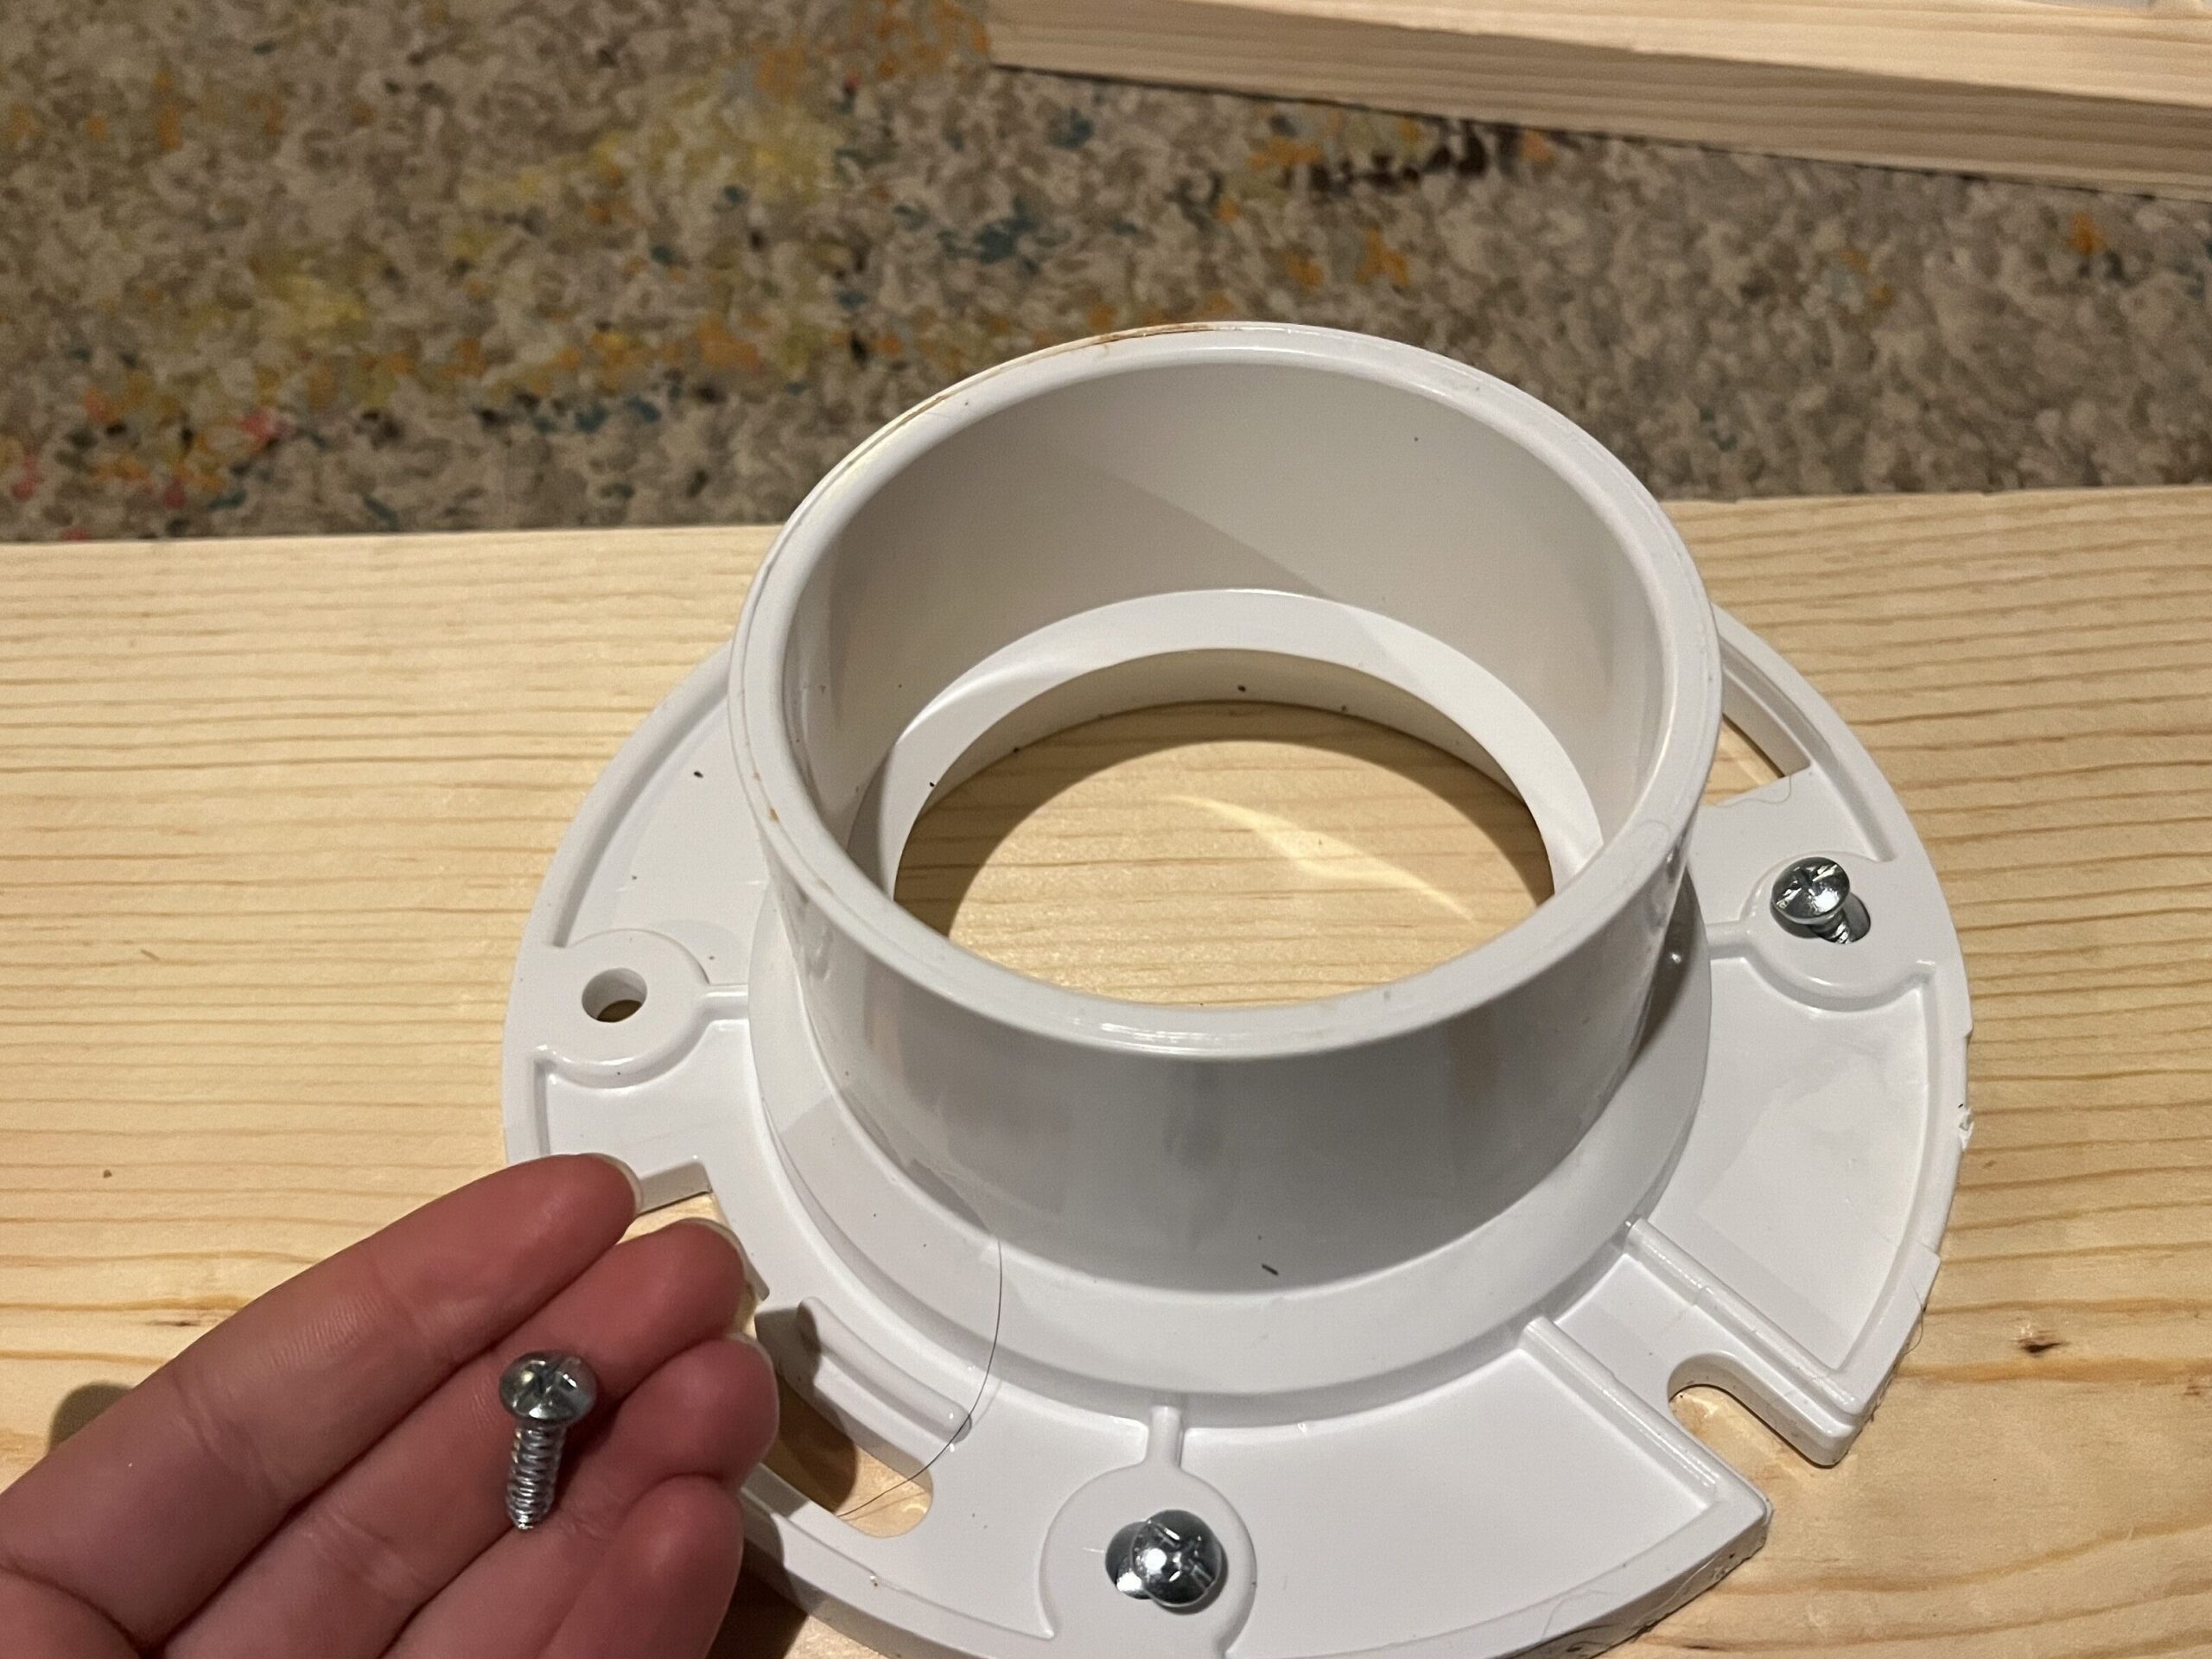
- Center the flanges on the planks.
- Use your drill and screws to attach the flange. I didn’t need to pre-drill holes, but you may need to, depending on your equipment.

4. Place one jar into the center of the flange. We use jars within our snorkels to avoid having the target come into direct contact with the plastic or wood.
5. Place the drain filter over the jar. This helps to protect your target (or off-target) from contaminants to some degree.
6. Place the elbow fittings over the flange.
7. Optional: mark the snorkels. If you do, ensure that ALL are marked with the same material so that they smell the same and look similar. You may want to dedicate one or two snorkels as “hot” with your target odor and the rest as off-target. I marked mine with pencil on the floor-facing side of the plank, so that the dog can’t see them.
We use Sci-K9 Liquinox solution to clean the PVC between training sessions of slobber and any other contaminants picked up during training. We’ve found the drains can be tricky to get out after placement, but a slightly hooked piece of wire helps us loop them out.
We have also seen trainers drill large (roughly 2-inch) holes in the back bend of the elbow for easy treat delivery INTO the snorkel. We elected not to do this because our dogs are primarily toy-rewarded and we don’t want to risk dropping treats onto our targets. Because our targets can’t be purchased in the store (like KONG or essential oils), we often need to re-use samples. If you’re training with treat rewards and easily replaced targets, this seems like a great idea.

 Donate

